The Hughesnet® Mesh Wi-Fi Node is designed to extend your modem’s Wi-Fi signal, providing seamless wall-to-wall Wi-Fi coverage throughout your home. It pairs effortlessly with the Hughesnet Modem to ensure uninterrupted browsing and streaming in every room.
Do I Need a Mesh Wi-Fi Node?
You may benefit from a Mesh Wi-Fi Node if:
- You experience weak or no signal in certain areas of your home.
- You want to extend Wi-Fi coverage to additional structures like garages or guest houses. Use the myHughesnet (Mobile) app’s wireless signal gauge to help you identify places in your home with a poor signal.
How Does It Work?
The Hughesnet Mesh Wi-Fi Node extends your Wi-Fi coverage by repeating signals in weak connectivity areas. It receives signals from the main modem and redistributes them, eliminating dead zones for reliable, consistent coverage throughout your home. To use the Mesh Wi-Fi Node, you’ll need an HT3000W Satellite Modem, an active internet connection, and an electrical outlet near each node.
How Do I Order Mesh Wi-Fi Node?
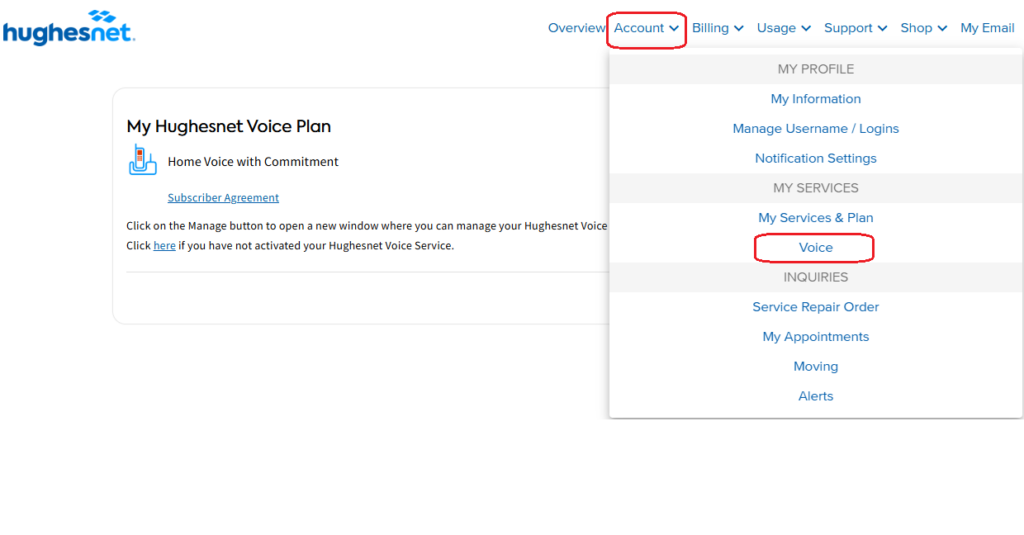
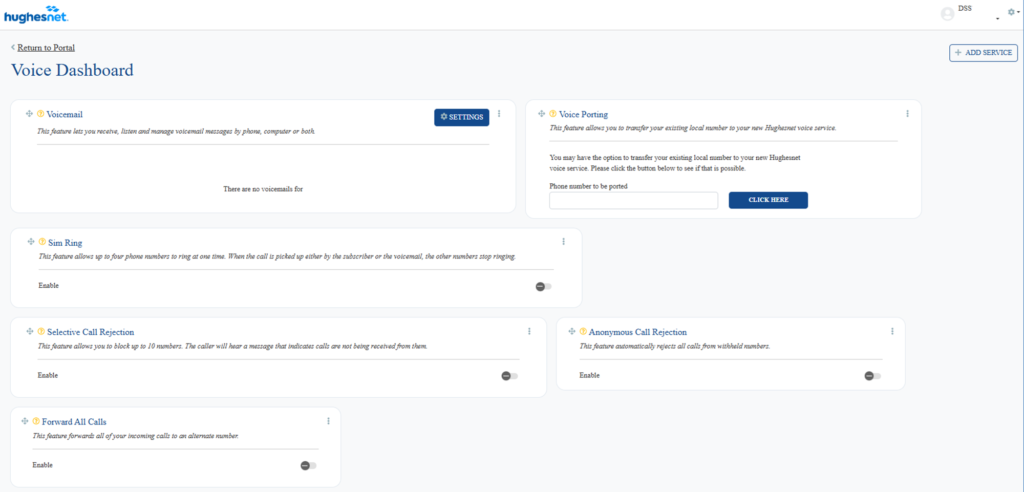
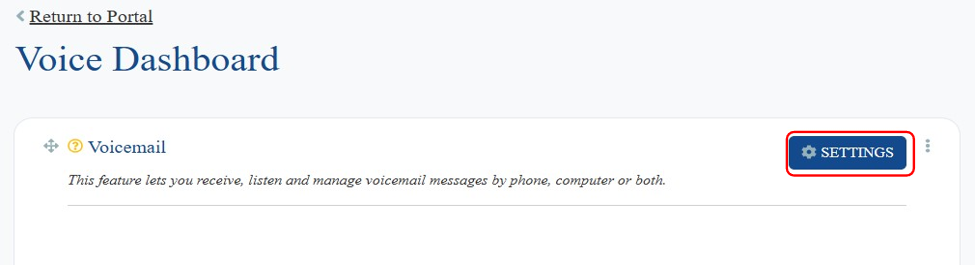
You can purchase the Hughes Mesh Wi-Fi Node by logging into your account on myhughesnet.com under “Shop” menu.
Will I Need More Than One Mesh Wi-Fi Node?
The number of nodes required depends on:
- The size and layout of your home
- The construction materials (e.g., thick walls may require more nodes for optimal coverage)
- Use the myHughesnet (Mobile) app to detect weak signal areas and determine the number of mesh Wi-Fi nodes needed.
Where Should I Place My Mesh Wi-Fi Node?
For the best performance, place the mesh Wi-Fi node halfway between your Hughesnet modem and the area with poor signal strength. This positioning ensures you get maximum use of your mesh Wi-Fi node.